
Don't Sweat the Small Stuff (Too Much): Your Guide to Aceing That City Inspection
- inhome renovation
- May 15, 2025
- 3 min read
The clipboard-wielding city inspector. Just the thought can send shivers down the spine of even the most seasoned builder or homeowner undertaking a renovation. But fear not! That upcoming inspection doesn't have to be a source of anxiety. With a little proactive preparation, you can navigate the process smoothly and ensure your project stays on track.
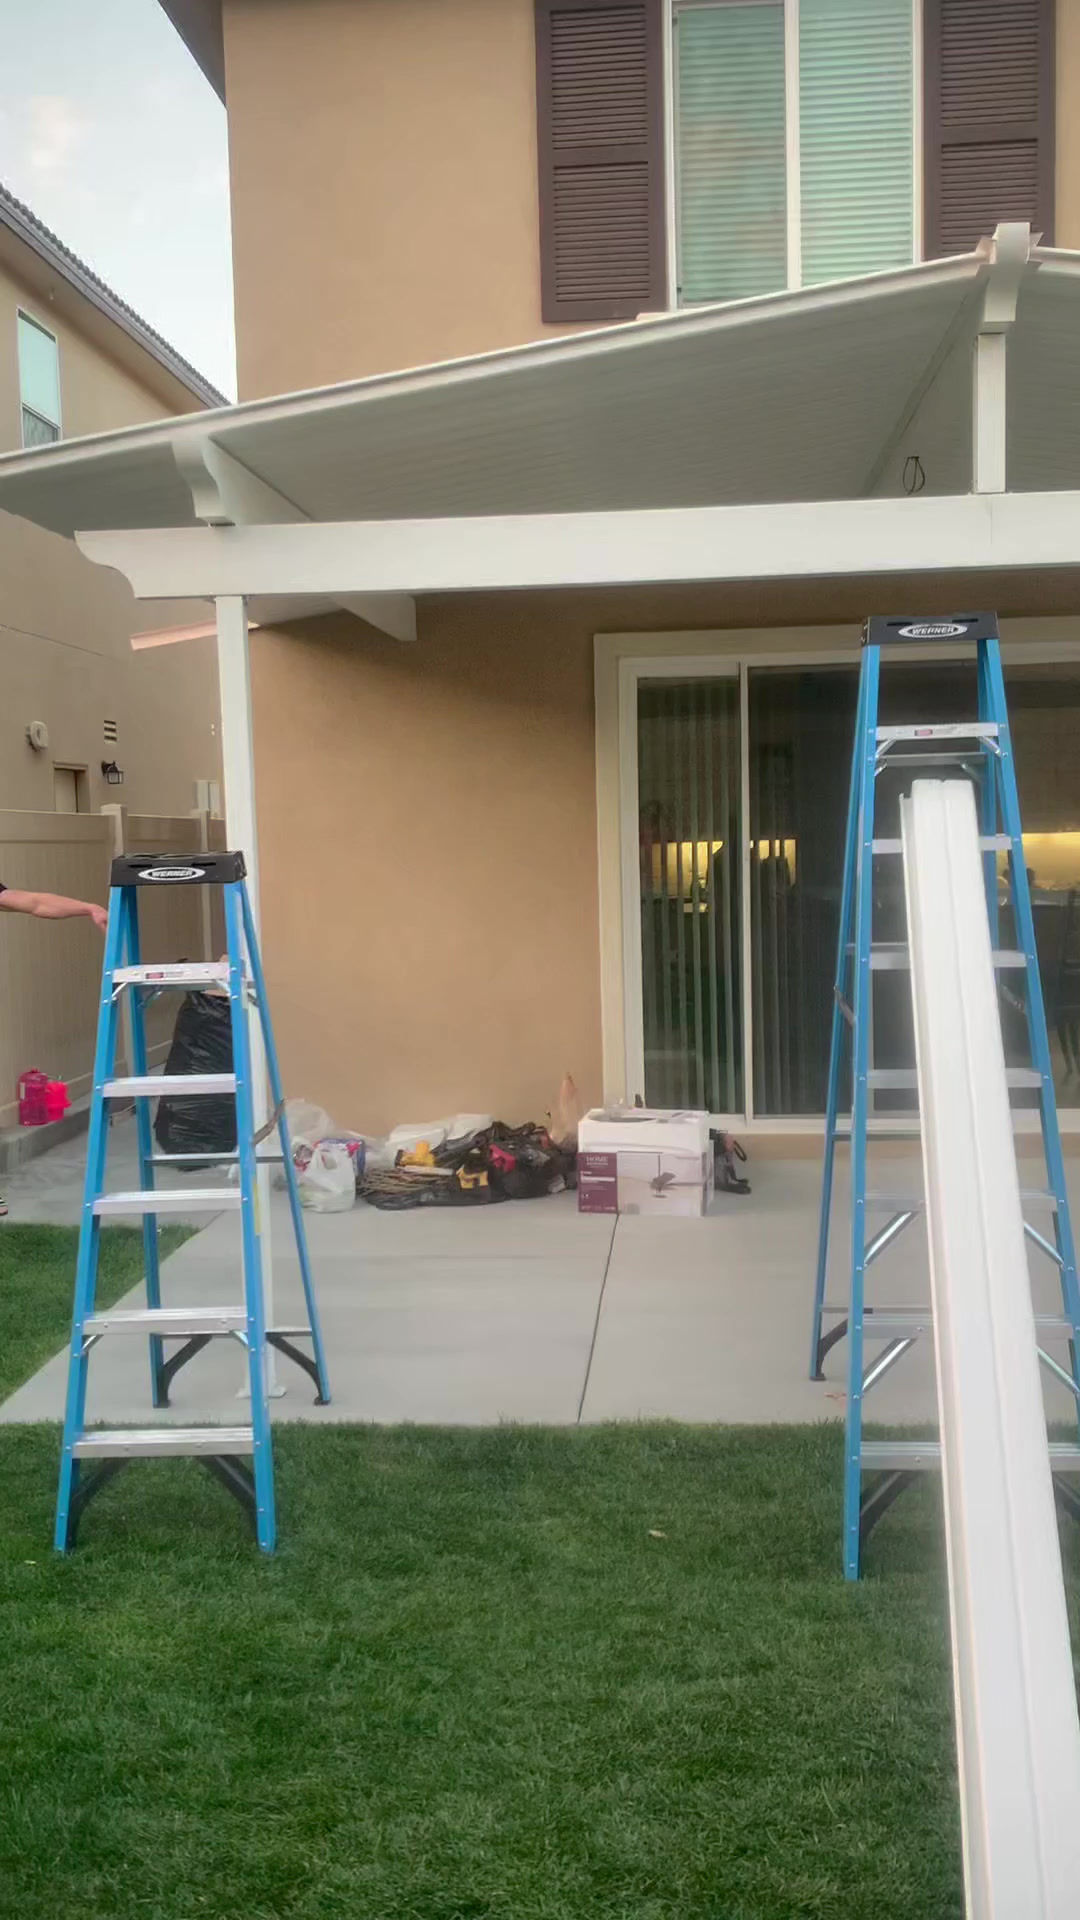
Whether you're putting the finishing touches on a new commercial building or just wrapped up a residential remodel, city inspections are a crucial step in ensuring safety and code compliance. While the specifics might vary slightly between residential and commercial projects, the core principles of preparation remain the same.
Know What They're Looking For: The Importance of Permits and Plans
Before the inspector even sets foot on your property, make sure you have your ducks in a row with the necessary permits. These official authorizations demonstrate that your project has been reviewed and approved according to local building codes.
Alongside your permits, have a readily accessible copy of your approved plans. The inspector will be comparing the actual construction against these plans to ensure everything aligns with the initial design and safety regulations. Any significant deviations without prior approval can lead to delays and costly rework.
The Devil is in the Details: Key Areas of Focus
While each inspection is unique to the project stage, here are some common areas that inspectors will scrutinize:
Structural Integrity: For framing inspections, this means ensuring proper sizing and installation of structural members like beams, joists, and studs. Look for correct nailing patterns, bracing, and connections.
Electrical Systems: Inspectors will check wiring methods, grounding, proper box fill, and the installation of outlets, switches, and light fixtures according to code. Ensure all connections are secure and properly protected.
Plumbing Systems: This includes verifying pipe materials, proper support and slope, leak-free connections, and the installation of fixtures like sinks, toilets, and showers. Pressure testing might also be required.
Mechanical Systems (HVAC): Ductwork installation, equipment clearances, proper venting, and gas line connections will be examined. Ensure all units are securely mounted and accessible for maintenance.
Fire Safety: Depending on the project, this could involve checking fire-rated walls and ceilings, smoke and carbon monoxide detectors, sprinkler systems, and proper egress routes.
Energy Efficiency: Insulation levels, window and door installations, and the efficiency ratings of appliances might be reviewed to ensure compliance with energy codes (Title 24).
Accessibility (Commercial): For commercial projects, inspectors will pay close attention to accessibility features like ramps, doorways, restrooms, and signage to ensure compliance with ADA standards.
Site Conditions: This can include grading, drainage, erosion control, and adherence to landscaping plans.
Your Pre-Inspection Checklist: Setting Yourself Up for Success
To make the inspection process as smooth as possible, follow this checklist in the days leading up to the scheduled visit:
Review Your Plans and Permits: Familiarize yourself with the approved documents and ensure they are readily available for the inspector.
Self-Inspect: Walk through the project yourself, comparing the construction to your plans and the key areas mentioned above. Identify and rectify any potential issues beforehand.
Ensure Accessibility: Make sure the areas to be inspected are easily accessible and free of obstructions. This includes removing tools, materials, and debris.
Have Documentation Ready: Gather any relevant documents beyond the plans and permits, such as material certifications or testing reports.
Communicate with Your Team: Ensure everyone involved in the project is aware of the inspection schedule and their role in the preparation process.
Prepare for Questions: Be ready to answer any questions the inspector might have about the project. If you don't know the answer, it's okay to say so and offer to find out.
Be Present and Professional: Have a representative on-site during the inspection to accompany the inspector and address any concerns. Maintain a respectful and professional demeanor.
What Happens After the Inspection?
After the inspection, the inspector will typically provide you with a report outlining any items that need correction. Don't panic if you receive a list of deficiencies. This is a normal part of the process.
Address any noted issues promptly and thoroughly. Once the corrections are made, you'll likely need to schedule a re-inspection to verify compliance.
The Takeaway: Preparation is Key
While the thought of a city inspection might seem daunting, remember that it's ultimately in place to ensure the safety and quality of your construction project. By understanding what to expect and taking the time to prepare thoroughly, you can approach the inspection with confidence and keep your project moving forward. So, take a deep breath, review your plans, and get ready to shine!
Comments